Refreshing a home’s interior doesn’t require draining savings or racking up credit card debt. With strategic choices, a bit of elbow grease, and smart shopping, anyone can transform tired spaces into rooms that feel custom and intentional. The difference between a room that looks “decorated on a budget” and one that simply looks good has less to do with money and more to do with prioritization. Focus spending on high-impact changes, get creative with what’s already on hand, and tackle a few simple DIY projects. Here’s how to make a home look like a designer walked through, without the designer price tag.
Key Takeaways
- Paint delivers maximum visual impact per dollar spent, with quality paint costing $30–$60 per gallon and transforming a room’s character in less time and expense than most interior design ideas on a budget.
- Secondhand furniture from thrift stores and online marketplaces offers solid bones at a fraction of retail prices; simple updates like fresh paint, new hardware, and reupholstering can turn budget finds into statement pieces.
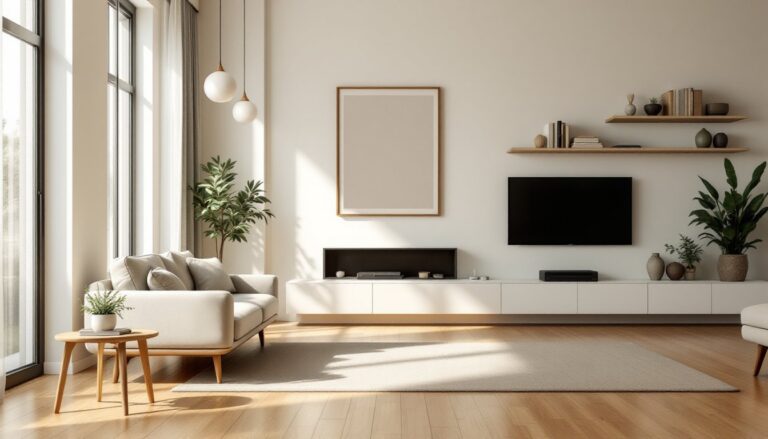
- High-impact accessories—area rugs, throw pillows, curtains, and gallery walls with thrifted frames—define a room’s personality and can be swapped seasonally without major expense or commitment.
- DIY projects like floating shelves, upholstered headboards, and wooden wall art add custom personality to spaces for minimal cost and basic tools.
- Strategic lighting updates, including pendant fixtures, layered ambient sources, and LED strip lighting, transform how rooms feel and function without requiring an electrician for fixture swaps.
- Before buying new items, rearrange existing furniture, repurpose pieces between rooms, and swap accessories seasonally to refresh spaces for free and discover hidden design potential.
Start with Strategic Paint Choices
Paint delivers the biggest visual transformation per dollar spent. A gallon of quality interior paint covers roughly 350–400 square feet and costs between $30–$60, depending on brand and finish. That’s enough to completely change the character of an average bedroom or living room.
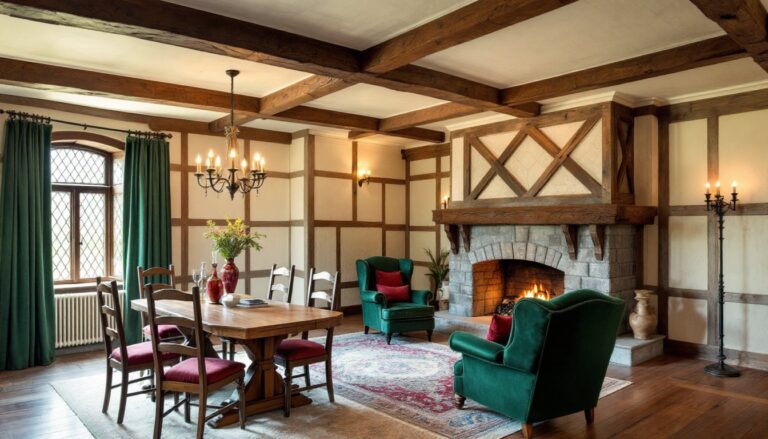
Choose colors deliberately. Light, neutral tones (soft grays, warm whites, greiges) make small rooms feel larger and provide a blank canvas for layering in accent colors through textiles and accessories. Darker, saturated hues add drama and coziness but work best on a single accent wall or in rooms with ample natural light.
Prep work matters. Clean walls with a TSP substitute, fill nail holes with lightweight spackle, and sand smooth before priming. Skipping prep shows through fresh paint as shadows, bumps, and uneven sheen. Use a quality primer, especially over dark colors or stained surfaces, to reduce the number of topcoats needed.
Consider painting more than walls. Outdated trim, doors, or even tired cabinets can get new life with the right paint and technique. Semi-gloss or satin finishes stand up better to cleaning on high-touch surfaces. For cabinets, use a bonding primer and a durable enamel topcoat, and allow proper cure time (up to two weeks) before heavy use.
Tools: A quality angled brush, a microfiber roller cover (3/8″ nap for smooth walls), and a sturdy roller frame make the job faster and cleaner. Cheap rollers shed fibers and leave texture.
Safety: Work in ventilated spaces. Wear gloves and eye protection, especially when using oil-based primers or enamels.
Shop Secondhand and Upcycle Furniture
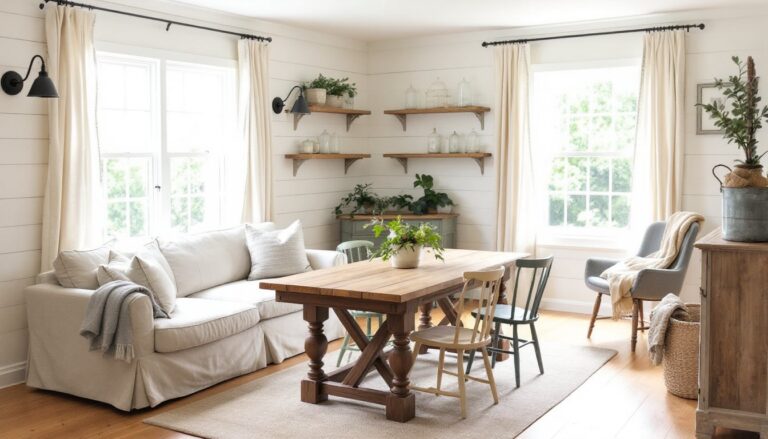
Thrift stores, estate sales, online marketplaces, and curbside finds offer solid-wood furniture for a fraction of retail prices. Look past scratched finishes and outdated hardware, focus on good bones. Check drawers for dovetail joinery, inspect frames for stability, and avoid particle board that’s swollen from moisture.
A worn dresser becomes a statement piece with fresh paint, new pulls, and maybe some contact paper lining the drawers. Sand glossy surfaces lightly to help paint adhere, then apply a bonding primer. Chalk-style paints require minimal prep and offer a matte, forgiving finish, though they need a protective topcoat (wax or poly) for durability.
Reupholstering a chair or bench sounds intimidating but isn’t. Remove the seat, pull off old fabric and foam, cut new foam to size (use an electric carving knife), wrap with batting, then staple on fresh fabric. Start in the center of each side and work outward, pulling taut as you go. Budget about $20–$40 for foam, batting, and a yard of upholstery-weight fabric.
Online communities dedicated to furniture hacks show how flat-pack pieces become custom-looking storage, seating, or media consoles with a few modifications. Swap out legs, add trim, or combine two units for a built-in effect.
Safety: Wear a dust mask and gloves when sanding old furniture, pre-1978 pieces may have lead paint. Work outdoors or in a well-ventilated garage.
Focus on High-Impact, Low-Cost Accessories
Accessories define a room’s personality and can be swapped seasonally without commitment or major expense. Prioritize items that draw the eye and anchor a space: area rugs, throw pillows, curtains, and artwork.
An area rug grounds furniture and adds warmth underfoot. In a living room, the rug should be large enough that at least the front legs of seating pieces rest on it. Look for flatweave or low-pile synthetics that wear well and clean easily. Discount home stores and online retailers often run sales where a 5×7 or 8×10 rug drops below $100.
Throw pillows in varied textures (linen, velvet, woven cotton) and a cohesive color palette make a sofa look intentional. Mix solid colors with one or two patterned covers, stripes, geometric prints, or subtle florals. Budget $10–$25 per cover: swap out inserts from old pillows to save even more.
Curtains frame windows and control light. Hang the rod 4–6 inches above the window frame and extend it several inches beyond each side to make windows appear larger. Floor-length panels in a neutral fabric add height and elegance. Blackout linings improve energy efficiency and sleep quality in bedrooms.
Art doesn’t mean expensive prints. Frame fabric remnants, pages from vintage books, or personal photographs. Thrift store frames get a uniform look with a coat of spray paint. Gallery walls using mismatched frames create visual interest when arranged with consistent spacing (about 2–3 inches between frames). Large-scale DIY art, a painted canvas or a wood geometric design, fills awkward wall space for under $30 in materials.
Greenery adds life. Real plants improve air quality, but high-quality faux stems and succulents work in low-light spots or for those without a green thumb. Group plants in odd numbers (three or five) for a curated, less staged feel.
Rearrange and Repurpose What You Already Own
Before buying anything new, take inventory. Pull everything out of a room, clean thoroughly, and experiment with new furniture layouts. Floating furniture away from walls creates conversational groupings and makes spaces feel larger. Angle a sofa or chair to break up boxy room shapes.
Repurpose pieces between rooms. A dresser works as a buffet in a dining room or a media console in a living room. Nightstands become side tables: bookcases can divide open spaces to create zones without building walls.
Swap accessories between rooms seasonally. Rotate artwork, move lamps, shuffle throw blankets. It costs nothing and makes spaces feel fresh. Layering books, trays, and small objects on coffee tables or shelves adds dimension, follow the rule of three (group items in odd numbers) and vary heights.
Shop the house for hidden design potential. A vintage ladder becomes a blanket rack: a wooden crate stacked on its side creates open shelving. Baskets corral clutter and add texture. Mason jars organize bathroom essentials or desk supplies.
Pay attention to scale and proportion when arranging furniture and décor. Oversized art above a small console looks unbalanced: tiny lamps on a large dresser disappear. Match the visual weight of objects to their surroundings for a cohesive look.
DIY Your Way to Custom Décor
Handmade elements add personality and cost a fraction of store-bought counterparts. Even beginners can tackle simple builds with basic tools and patience.
Floating shelves provide storage and display space. Use 1×8 or 1×10 pine boards (actual dimensions: 3/4″ × 7.25″ or 3/4″ × 9.25″) cut to length at the home center. Sand, stain or paint, then mount with heavy-duty brackets or concealed floating shelf hardware rated for the expected load. Studs should be located with a stud finder for secure mounting, drywall anchors alone won’t support heavy items.
Headboards define a bedroom. Build a simple upholstered version by wrapping a 3/4″ plywood panel cut to size with foam and fabric, then secure to the wall with French cleats or mounting brackets. Or frame out a wooden headboard using 1×4 or 1×6 boards in a geometric pattern, stain or paint, and hang.
Wooden signs or wall art made from reclaimed pallet wood or 1×6 boards add rustic charm. Sand smooth, arrange horizontally or vertically, and use wood glue and finishing nails to secure. Stencil or freehand lettering with paint or a wood-burning tool. Seal with polyurethane for longevity.
Mirrors amplify light and make spaces feel larger. Build a frame around an inexpensive frameless mirror using 1×3 or 1×4 lumber mitered at 45-degree angles. A miter saw gives clean cuts, but a miter box and handsaw work in a pinch. Attach the frame with construction adhesive or mirror clips.
Small-scale Dollar Tree DIY projects turn budget finds into custom accessories, think painted vases, decorated trays, or faux greenery arrangements. Pair inexpensive materials with a bit of creativity for high-impact results.
Safety: Always wear eye protection when cutting or sanding wood. Use a dust mask for MDF or treated lumber. Keep fingers clear of saw blades and secure workpieces with clamps.
Prioritize Lighting Updates for Maximum Effect
Lighting changes how a room feels and functions. Overhead fixtures, task lighting, and ambient sources work together to create layers. Swapping outdated fixtures for modern alternatives doesn’t require an electrician if the wiring and junction box are already in place, just turn off the breaker, match wire colors (black to black, white to white, ground to ground), and secure with wire nuts.
Pendant lights over a kitchen island or dining table add focus and style. Hang them 30–36 inches above the surface for proper clearance. Adjustable-height cord or chain pendants offer flexibility.
Table and floor lamps fill in dark corners and add warmth. Choose bulbs based on function: 2700K–3000K (warm white) for living spaces and bedrooms, 3500K–4100K (neutral white) for kitchens and bathrooms. LED bulbs save energy and last years longer than incandescents. Match bulb shape and size to the shade for even light distribution.
Dimmer switches provide control over mood and energy use. Installing one is a straightforward swap, turn off the breaker, remove the old switch, connect the dimmer’s wires (usually color-coded), and secure to the box. Confirm the dimmer is compatible with LED or CFL bulbs if using them. Most jurisdictions don’t require a permit for simple switch replacements, but always verify local codes.
Under-cabinet LED strip lighting transforms kitchens. Adhesive-backed strips install in minutes and plug into a standard outlet or hardwire into an existing circuit. They eliminate shadows on countertops and highlight backsplashes.
Natural light is free. Remove heavy drapes, clean windows inside and out, and trim outdoor foliage blocking sunlight. Mirrors placed opposite windows reflect light deeper into rooms, creating visual strategies discussed in asymmetrical balance design.
Safety: Always turn off power at the breaker before working on electrical fixtures. Use a non-contact voltage tester to confirm power is off. If unsure about any wiring, hire a licensed electrician. Electrical work is governed by the National Electrical Code (NEC): some jurisdictions require permits even for fixture swaps.
Conclusion
Budget-friendly interior design isn’t about cutting corners, it’s about making informed choices and investing effort where it counts. Paint transforms spaces for pennies per square foot, secondhand finds gain new life with minor repairs, and DIY projects add custom touches that can’t be bought off a shelf. Prioritize high-impact changes, use what’s already available, and tackle lighting to shift how rooms feel. The result: a home that reflects personality and thoughtfulness, not just a bank account balance.